Custom Wood Carving Portrait by Cindy Chinn
This project has been a long time in the making. It began when I registered for a woodcarving workshop and signed up for a ‘log carving’ class. I really wanted to learn some tips about carving in 3D and wondered what might make the best subject for the class, other than the standard Santa or Indian. I ended up deciding to make a custom wood carving portrait of my grand uncle, Alton.
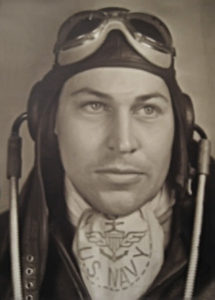
I worked from an old photo that I loved, taken while he was a US Navy pilot in World War II. I knew it would be a little challenging to create a 3D model from an old black and white photo, but then I do like to challenge myself!
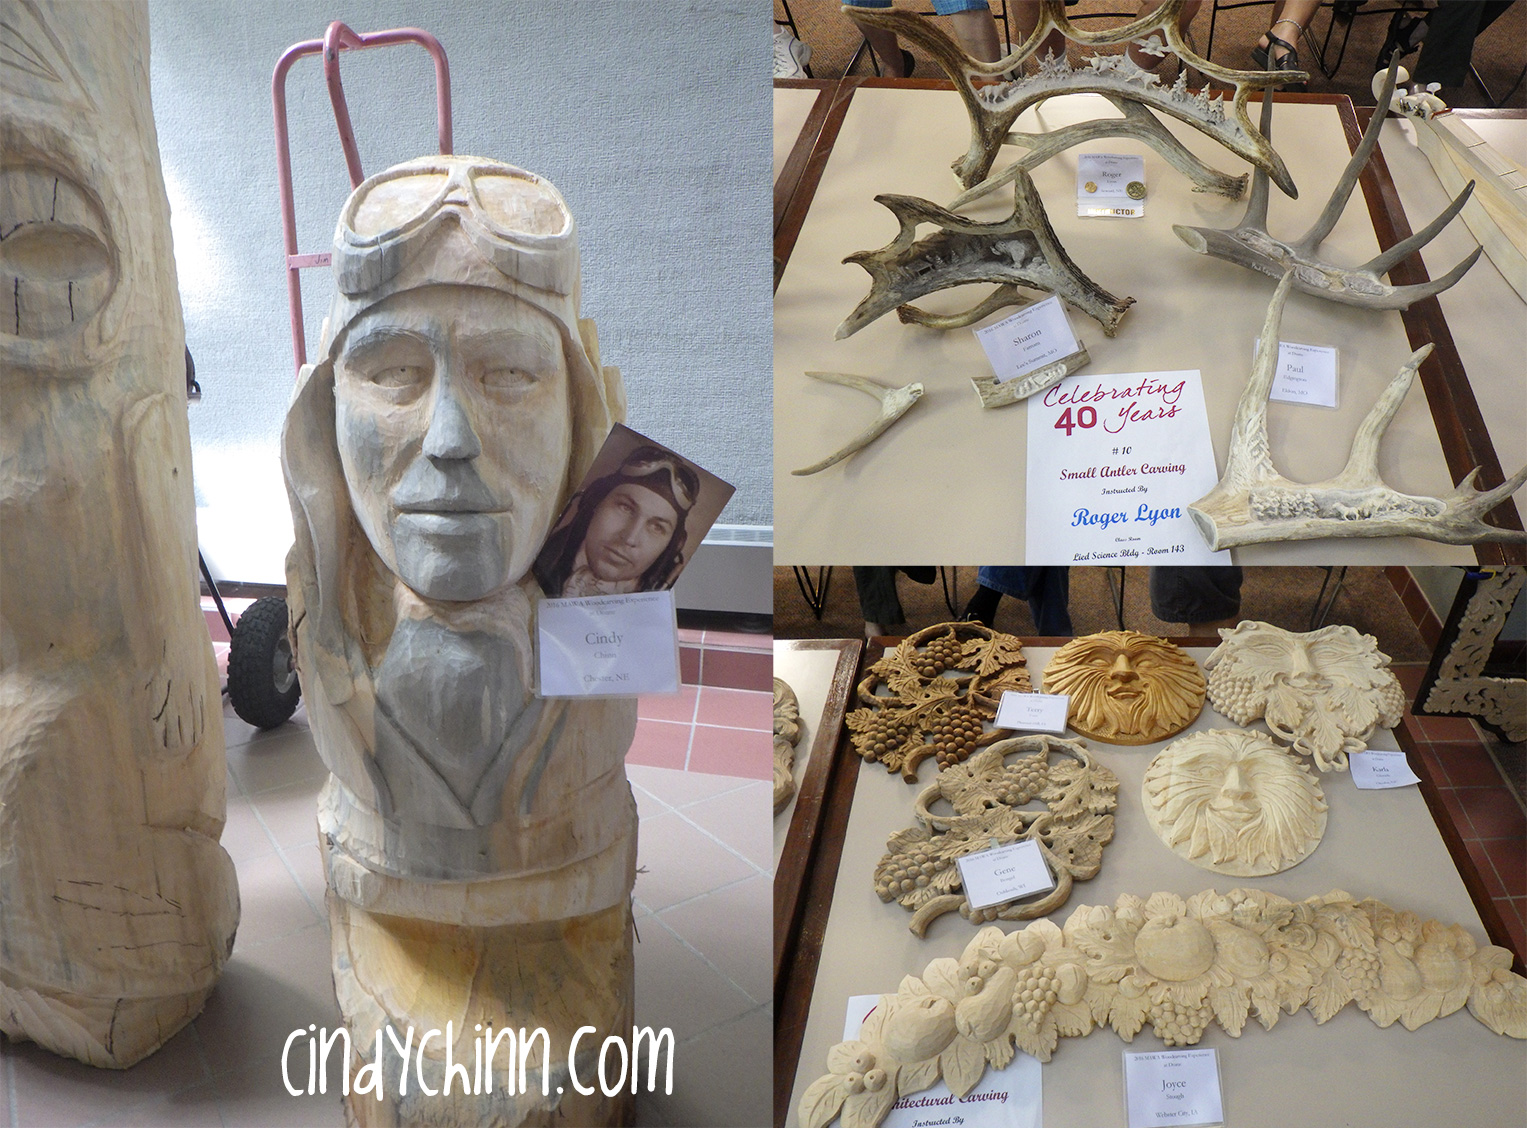
With it being during my birthday, I bought myself a present and signed up for the week long course at the Mid-America Woodcarvers Association’s “Doane Experience” hosted in Crete Nebraska. The Log Carving class was led by James Barr.
I don’t usually take workshops, as I learn a lot via experimenting, YouTube and other online resources. The Doane Experience is a great option to have close to home, so I decided to ‘take a week off’ and go have some fun.
I showed up at class with my tools and was given a four foot tall catalpa log and quickly realized that I was going to need bigger chisels. I’ve done a number of wood carvings over the years, but they have all been bas-relief. This would be my first full 3D carved wood portrait. As my granduncle was turning 99 the following year, I felt it would be a great monument to his long life.
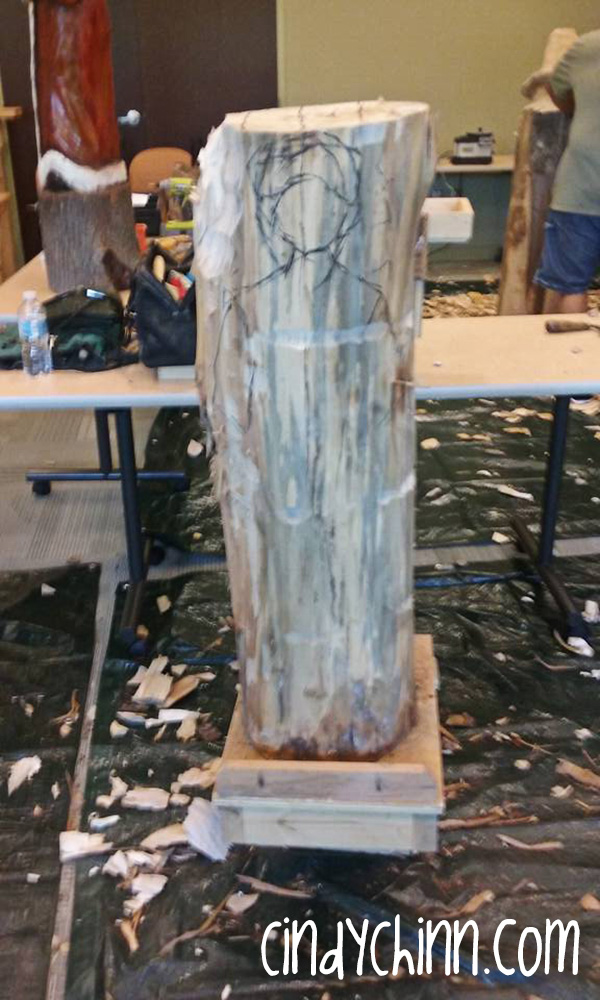
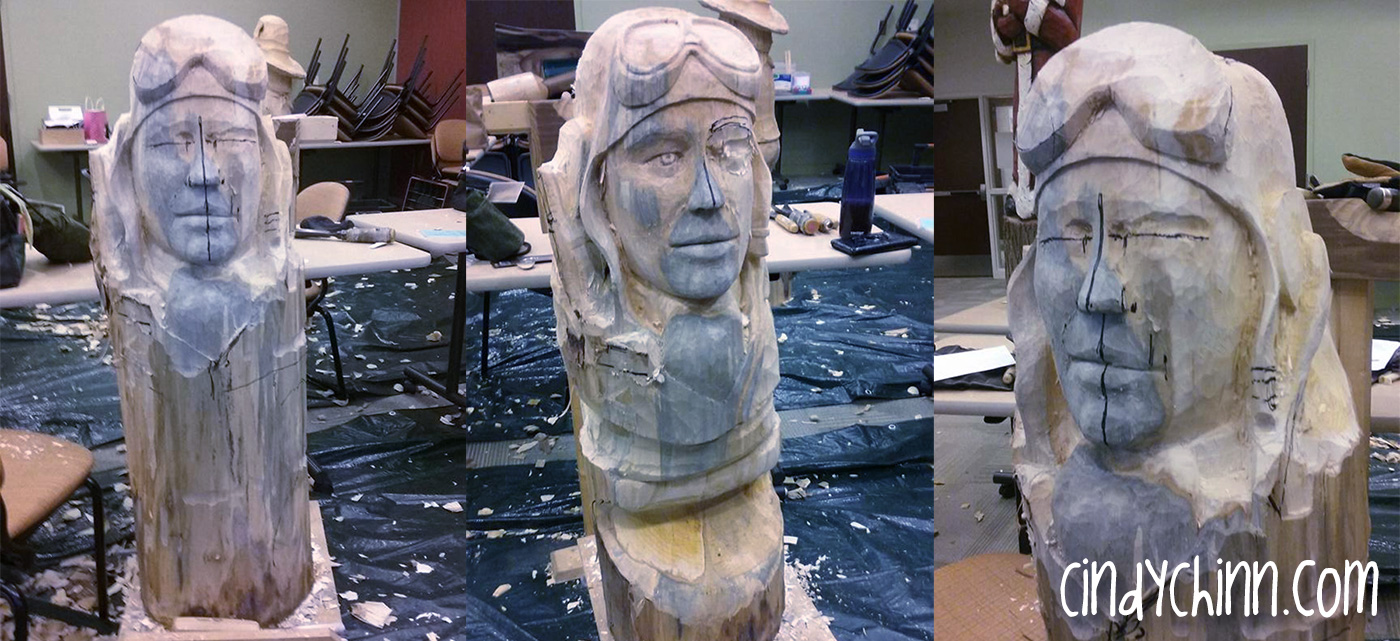
It starts out with a rough sketch on the log to begin the work of taking off the bulk of the wood. You can see in the following photo where I have drawn in the head and shoulders… it wasn’t big enough because Alton is larger than life, therefore his bust should be too! I changed it 10 times before I started actually removing bulk.
With some expert guidance about how to remove the bulk wood quickly, I was soon on my way! With the new mallet and chisel flying it didn’t take long to get to a point where I could think about details and had to slow down a bit.
After two full days of carving, things were starting to come together! I had the face roughed in and the body was starting to come into shape.
The week flew by and it was time pack my tools away and head home. There was a showing of everyone’s work from the various classes and a sad “good bye” to some new friends. Vowing to stay in touch until we met up again the next year…
Now it was time to make a mess in my own studio and continue refining the piece.
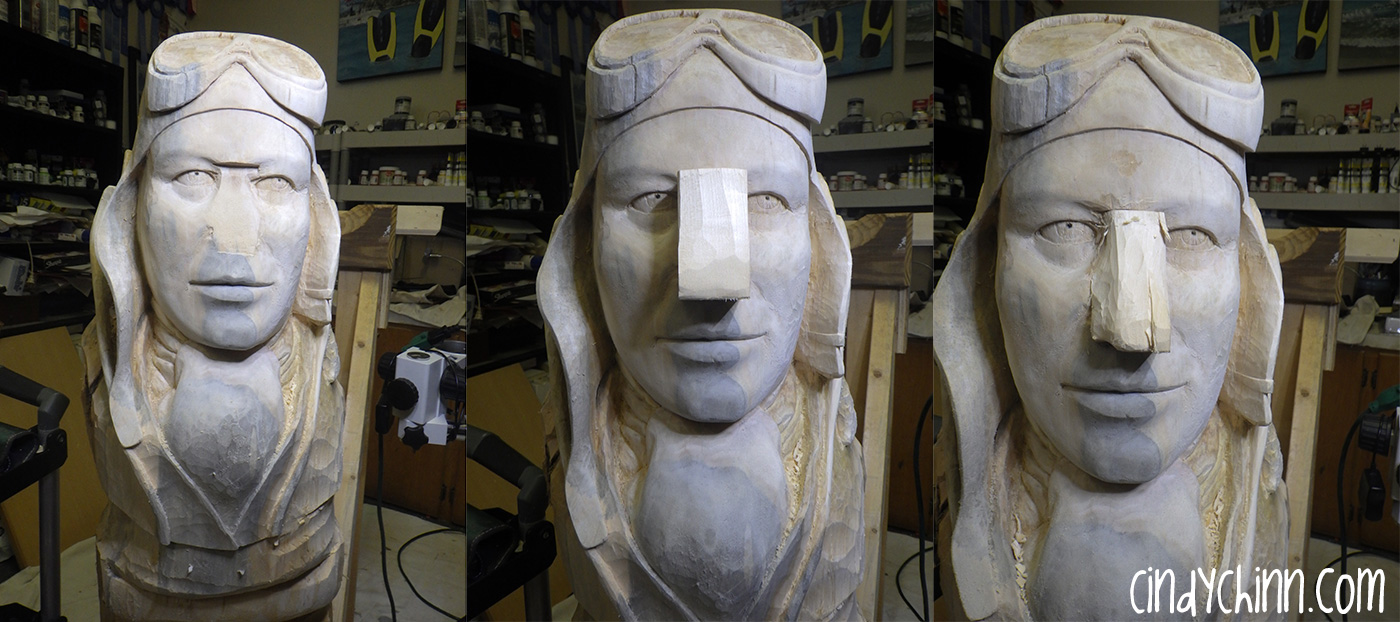
One problem I couldn’t get my mind around was that there was something off with the nose. I had taken off a little too much wood and I would need to fix it before continuing much further. With just a little trepidation (ok a lot), I cut off Alton’s nose and prepared a new piece of wood to replace it.
After this ‘nose job’, carving continued on without much problem. I got him to the point where I could call him complete (for now) and move on to other pressing projects. I didn’t realize that it would be nearly a year before I would get back to finishing the carving and the stand and be ready to deliver it.
If you have followed my work for any amount of time, you might know that I rarely work in just medium and usually combine two more when the mood hits me. This project was no exception as I began to work on the base.
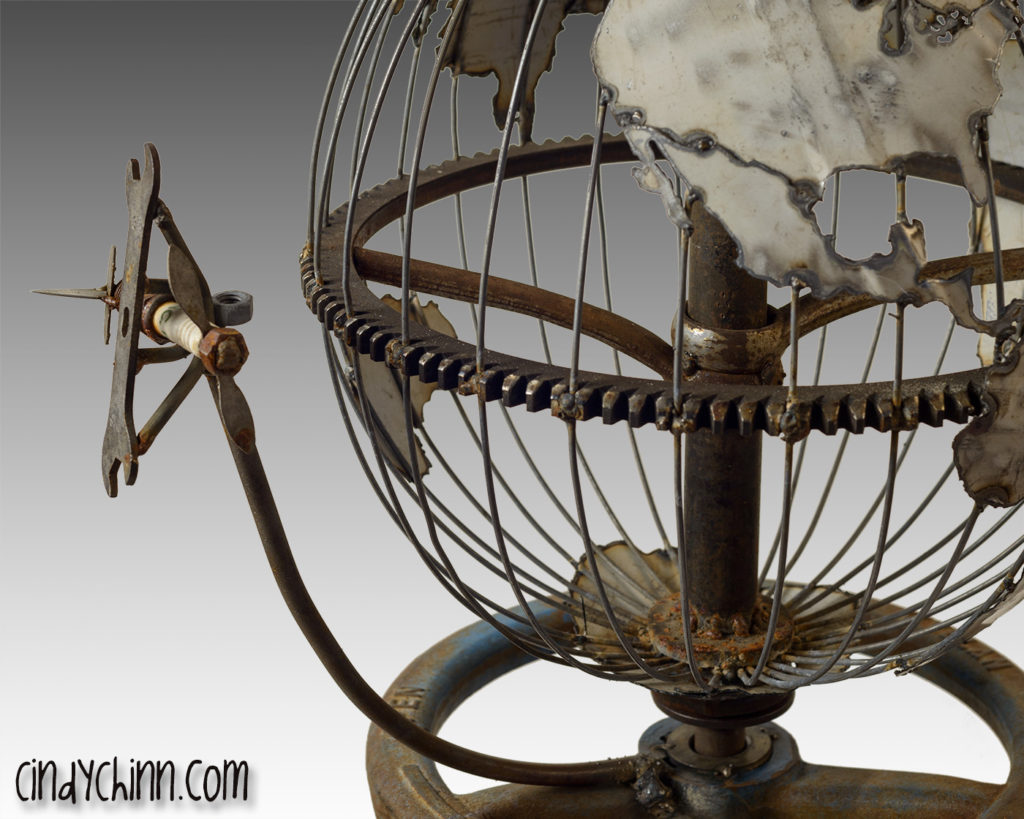
A large stand was needed to support the bust. I envisioned a globe and a plane. And it needed to be tall enough to raise the carving up. So I headed out the metal shop one night and got to work! I have to admit that making a globe is a lot more challenging than it sounds.
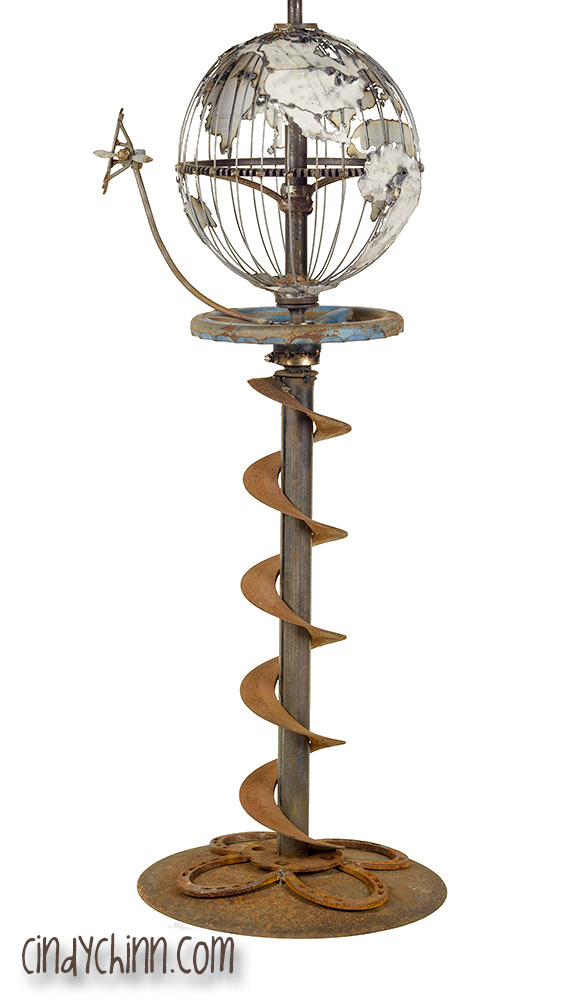
Ok – I have the globe and the plane spinning independant of eachother- here’s a shot of how it looks when it is not spinning around.
And finally, here is a look at the complete base: Earth, Air, and Water
If you look at the bottom of the base, you’ll see four horseshoes. I added those as a tribute to his days spent working with his mules and going on pack trips into the Sierra Mountains of California. The plane is mounted on the handle from a water valve which spins freely. The Globe is fabricated from wire hangers and a gear as the main support, which also spins freely.
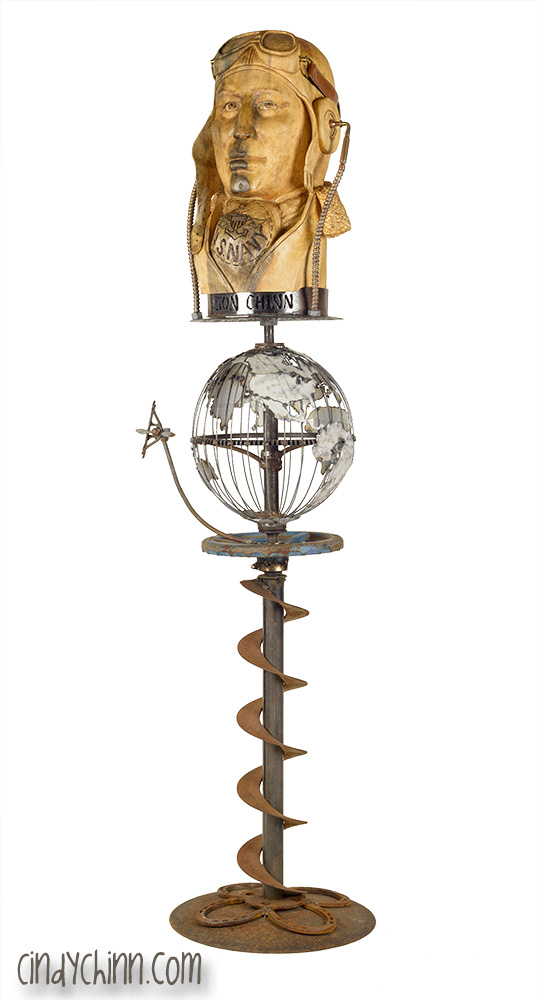
And now, the complete sculpture on the base and you can see how it will look as displayed.
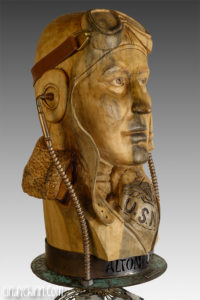
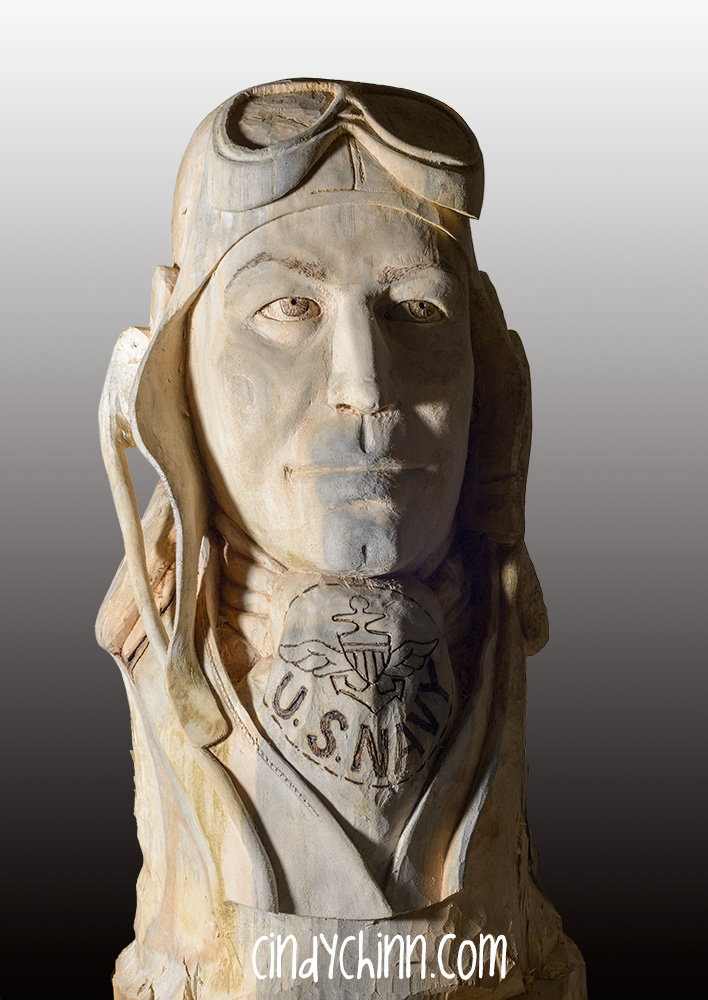
Here are the final images of the custom carved wood portrait. I added a leather strap for the goggles and constructed metal/brass attachments from brass valve stems, bullet casings and plumbing parts, for the headphones. I finished with several coats of Antiquing Oil and “Alton” is ready for me to deliver on his 99th birthday! Which happens to be at the same time as the Doane Experience this year… so I won’t be seeing my new friends.
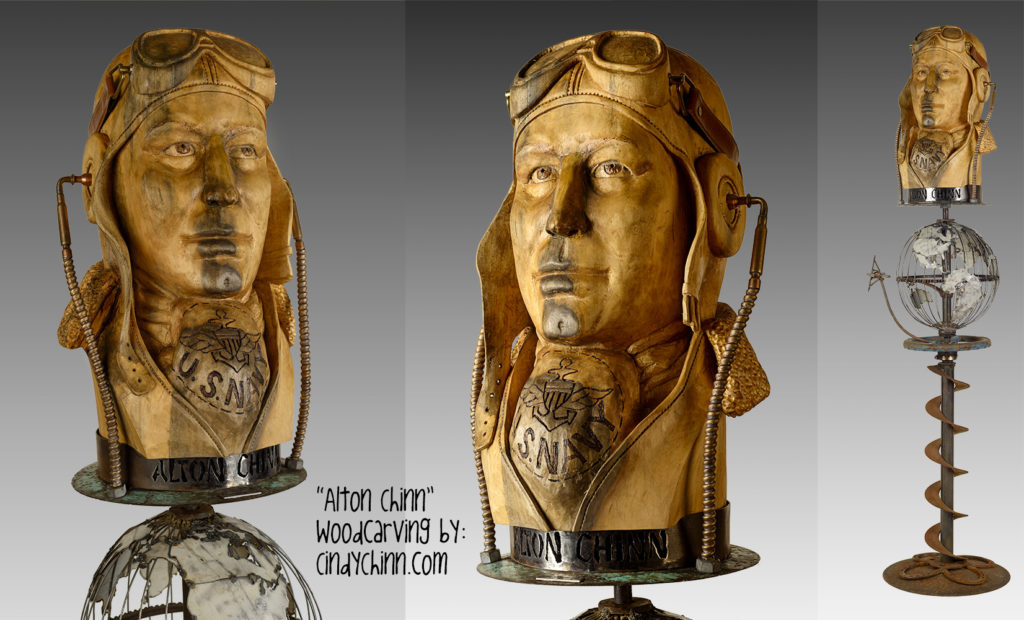
And a last video to show the full carving from all angles.
Thanks for reading, if you have any comments, just leave them below – or you can send me an email – Cindy@CindyChinn.com
Here’s a few more photos (some you may have seen above):




I liked that you said that many thing s can be made out of wood. I would imagine that having a statue custom made out of wood would be nice for your home. I would consider having one made as a gift for my parents.
Wow,It is amazing. I’m impressed by your work! The aged look on the wood carving seems like a hard thing to achieve. Thank you so much for sharing your expertise.
The aged look on the wood carving seems like a hard thing to achieve. I would love to have something like this in my cabin for decor. The aged and natural look would blend in perfectly.
Very impressive Cindy. I am Barbara Chinn’s cousin Mark from Palos Verdes.